Add a rhinestone border without crowding the edges
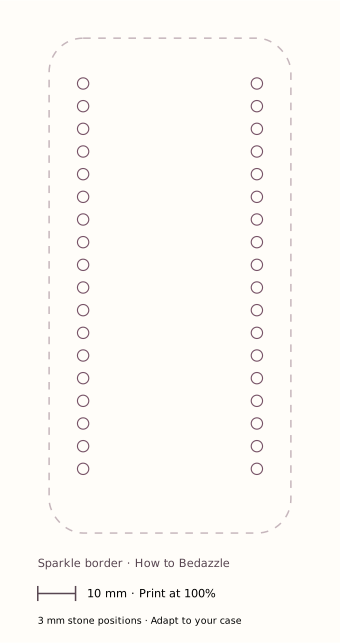
Use two inset side rows instead of wrapping the case rim. The starter pattern has 36 stones and plenty of space between them.
What to prepare
Prepare 36 non-hotfix 3 mm flatbacks plus spares; 40 stones covers a 10% allowance. Use one color for both sides or 18 of each of two colors. You need a compatible removable rigid case, adhesive, ruler, tray and pickup tool.
1. Use the flat back, not the bumper
Buttons and the flexible sidewall need room to move. Position the accents on the rigid rear surface, away from any transition to the bumper. The design should not bridge a seam or overhang the edge.
2. Test the printed spacing
Print the side-border template at 100% and verify the scale bar. Each row uses 18 stones with 6 mm center-to-center spacing. With 3 mm stones, this leaves approximately 3 mm between neighboring stones. Shorten both rows equally if your case has less usable space.
3. Dry-fit the endpoints
Place the first and last stones of each row. Measure the inset from the side edges and compare the row lengths. If a row meets the camera area, move or shorten the design; do not run stones into the opening to preserve symmetry.
4. Fill and attach the rows
Lay out the rest without glue. Count the final positions; customized rows will no longer necessarily need 36 stones. Once satisfied, attach small sections using the adhesive's instructions. Work while the empty case rests flat.
5. Check the finished edges
After full cure, check for protruding stones, snags and loose pieces. Avoid treating the border as a gripping surface. Remove loose stones before everyday use.
A smaller variation
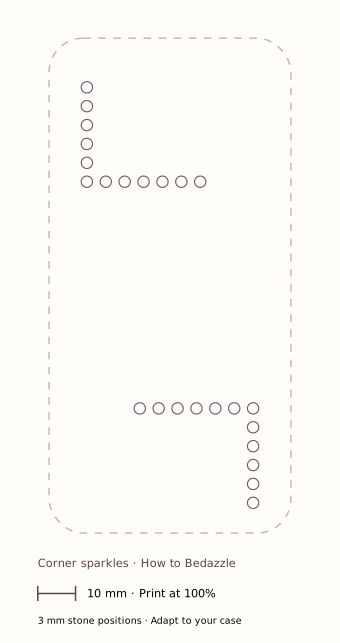
The corner accents template uses 24 positions total. Rotate or move the upper accent away from your camera cutout before committing to a layout.