How to bedazzle a phone case: a six-step photo-style guide
Follow one blush-pink case from bare surface to seven white-and-gold daisies. Each stage shows the same case, colors and flower positions.
Planning guidance, not a hands-on product test. Check the exact material, stone backing and manufacturer instructions before starting.
Gather your materials
- One empty removable rigid blush-pink case with a compatible flat back.
- 7 pale-gold center stones and 42 clear-white petal stones, all 3 mm non-hotfix flatbacks. With spares rounded per color, prepare 8 gold and 47 white stones.
- A compatible adhesive, pickup tool, separate sorting trays, ruler, clean cloth and protected flat work surface.
Unsure about the backing or method? Read glue-on versus hotfix first. Do not heat-set a plastic case.
Clean and check the empty case
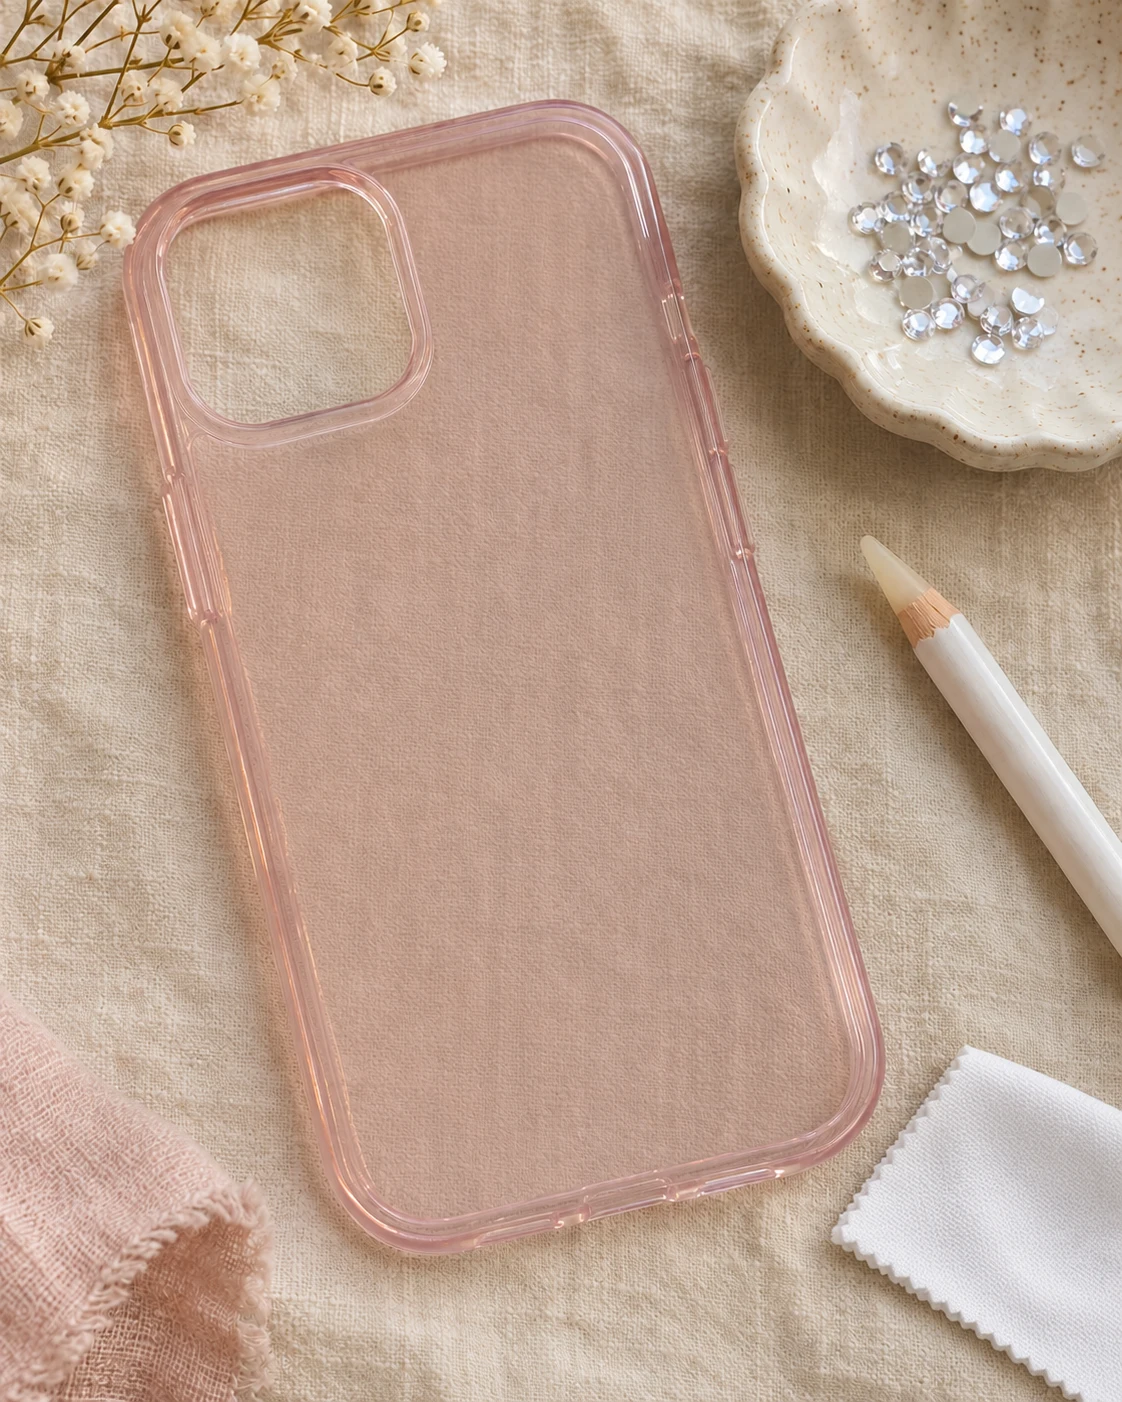
Remove the phone. Identify the case material and choose an adhesive compatible with that surface and the stone backing. Make a small test and wait for full cure. Clean and dry the case using its maker’s approved method. The image shows the starting state after preparation, not proof of a compatibility test.
The back is bare, dry and free of dust; all openings remain clear.
Check the layout before adding stones
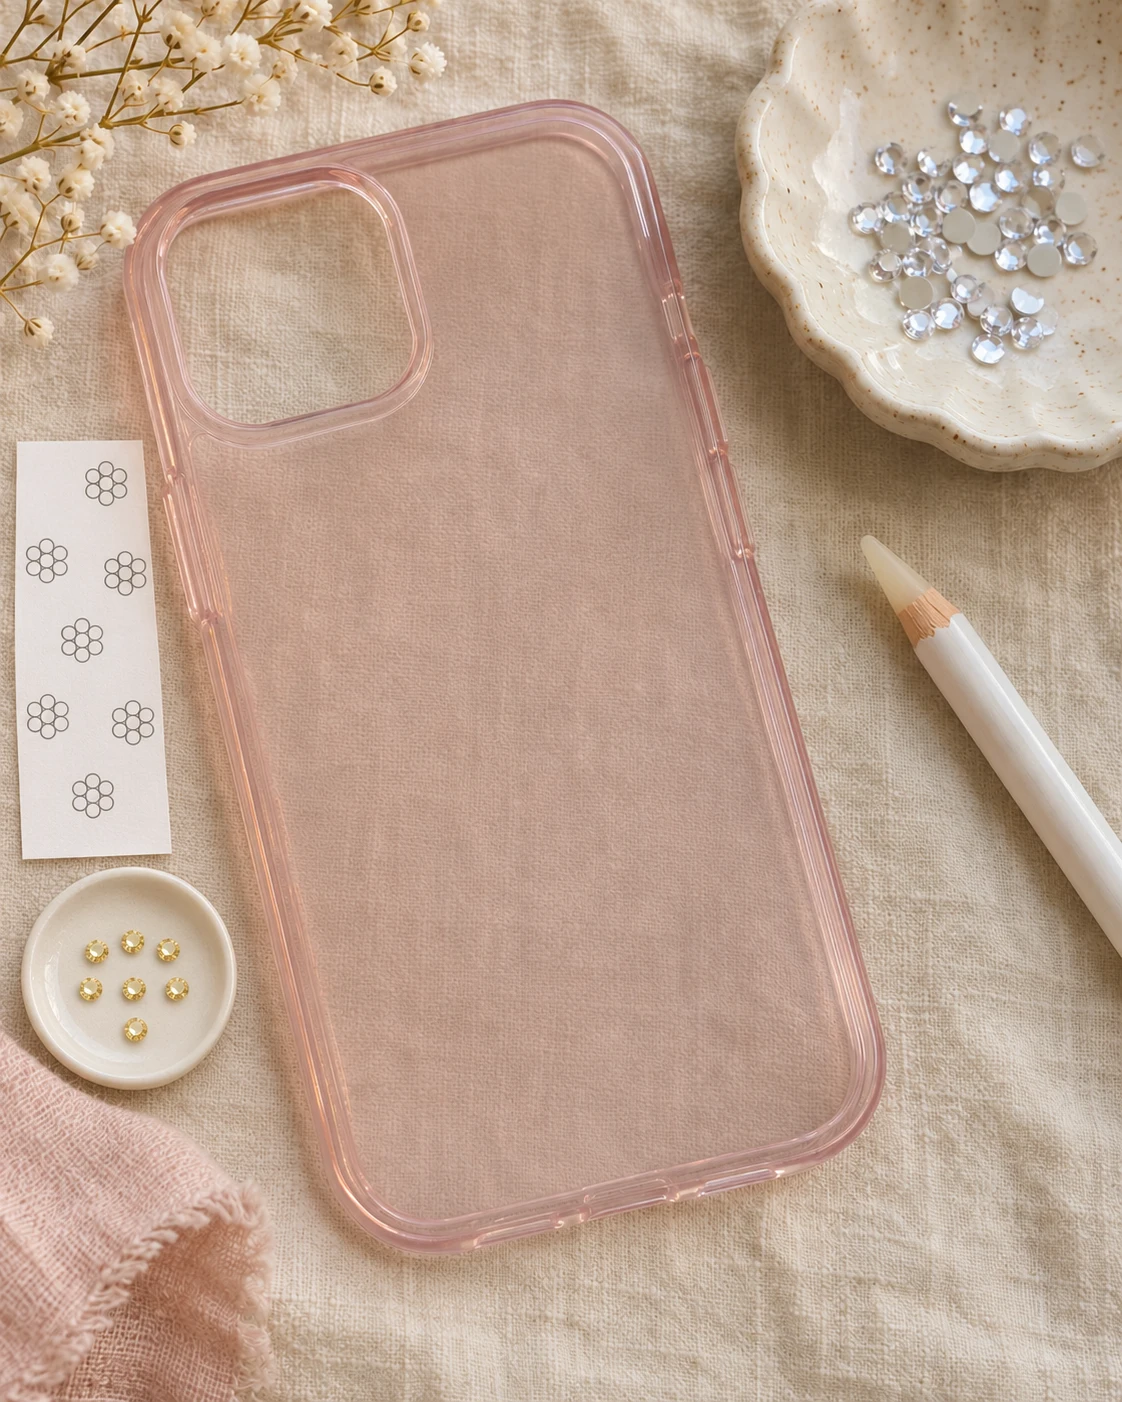
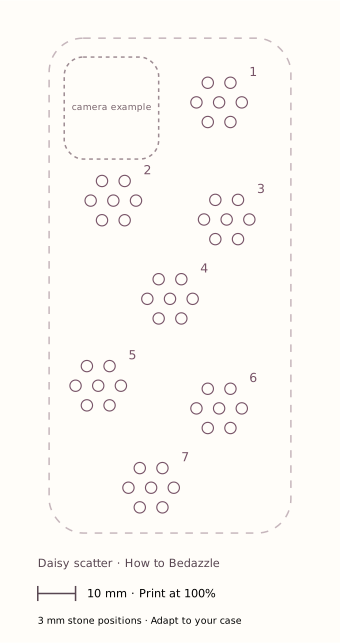
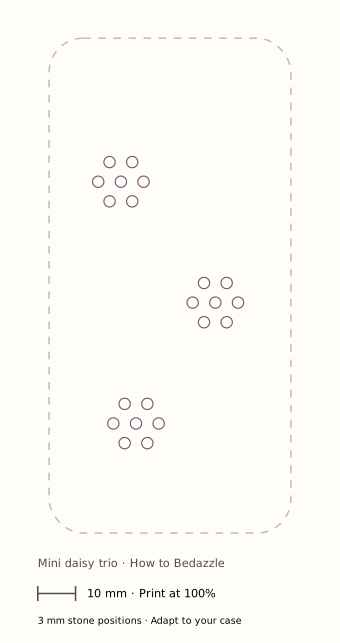
Download the seven-daisy pattern below and print at actual size. Measure its 10 mm bar. Hold the plan beside your empty case and check each motif against the camera and edges. Adapt the flower positions if needed; the generic outline does not fit every phone model. Sort 7 gold centers and 42 white petals into separate groups.
Seven flowers fit on the flat back, away from openings, seams and the bumper.
Build the first seven-stone daisy
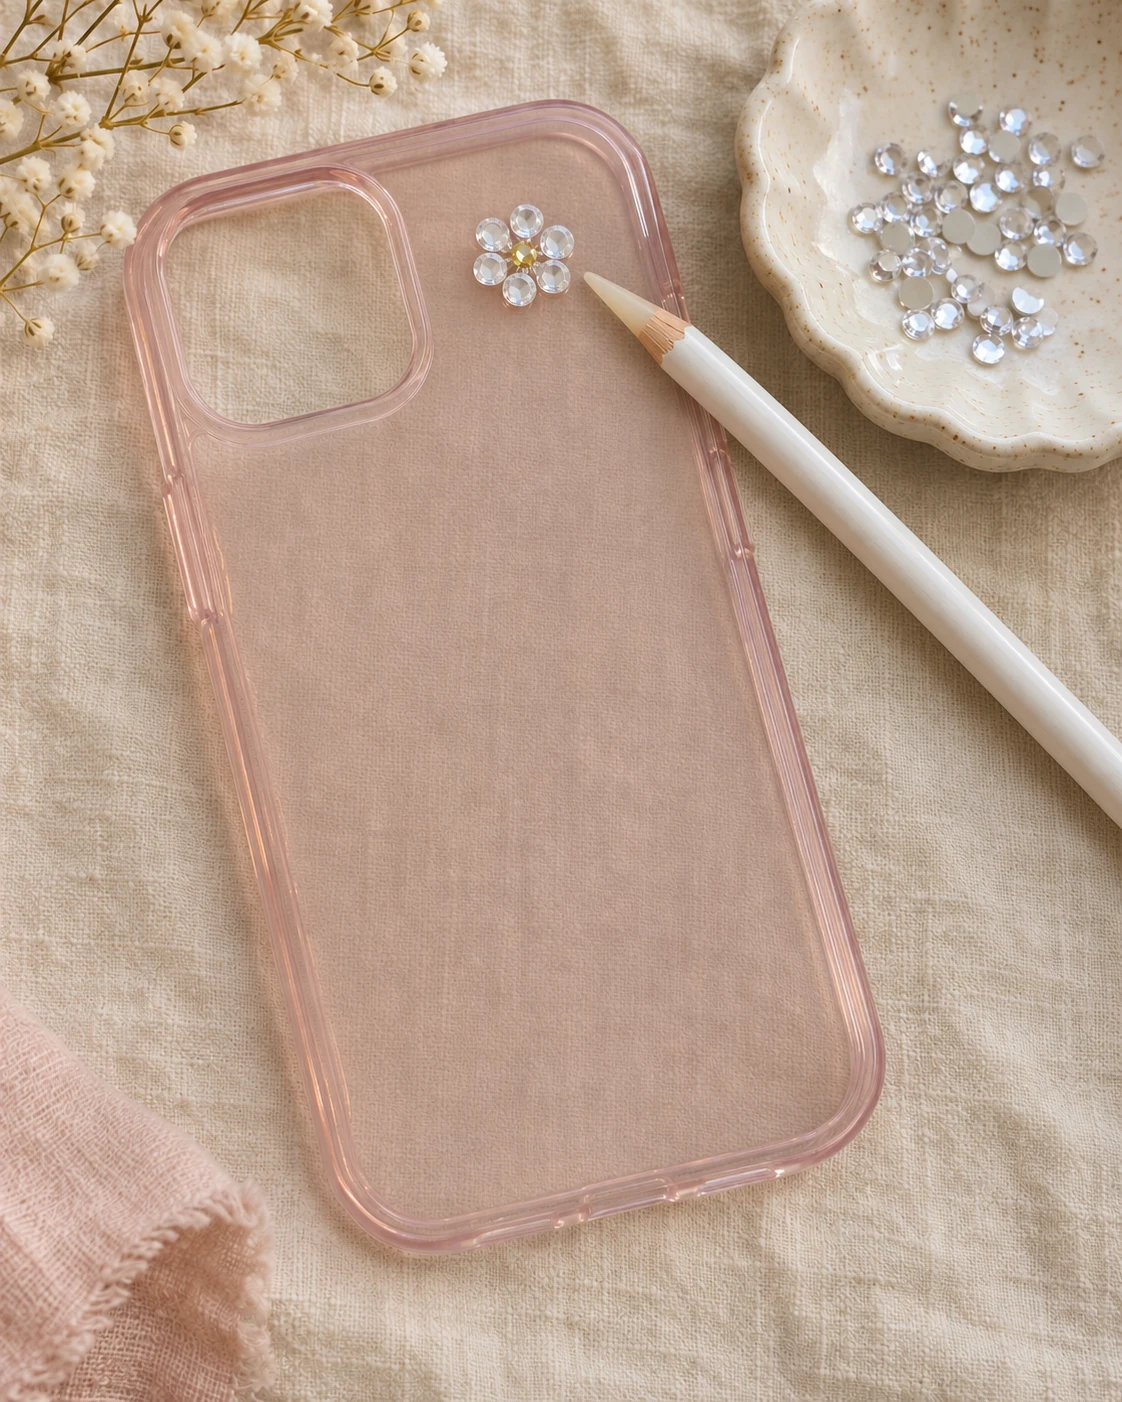
Dry-fit the upper flower first. A center plus six petals makes one motif. Once you are happy with the spacing, lift those seven loose stones into the tray, then attach them in the same positions using your adhesive’s exact application method. Work with small amounts as directed; avoid a large puddle. The photo-style image shows the placed flower, not the application motion.
One completed motif; the rest of the back is still bare.
Repeat on the next two positions
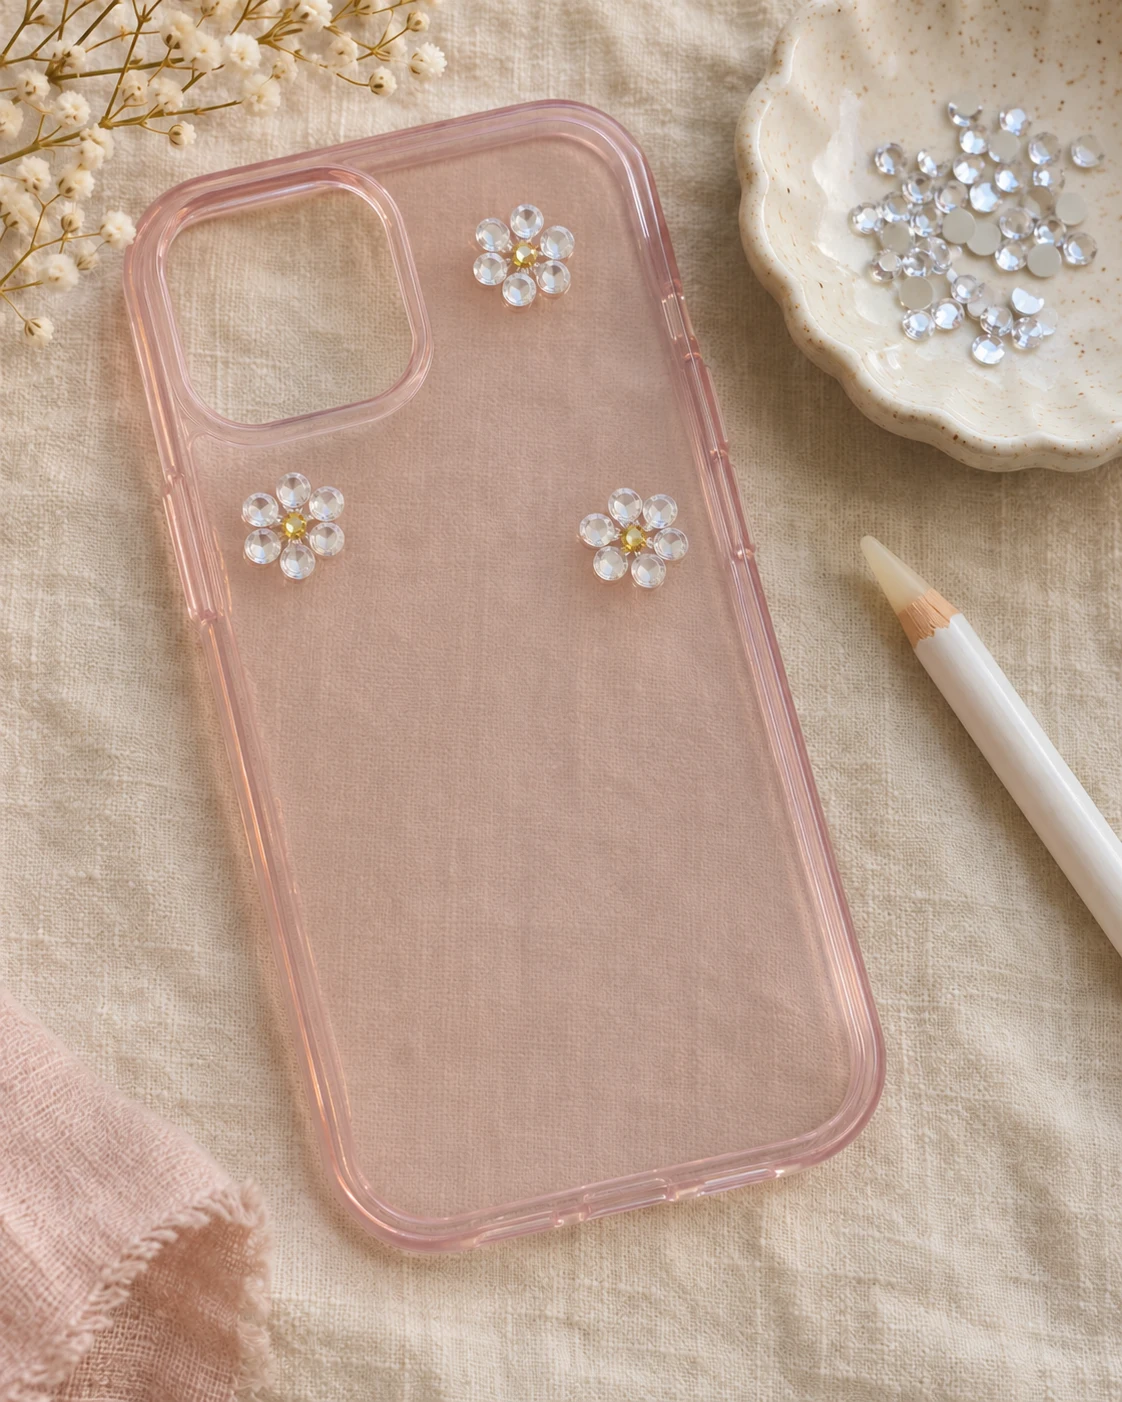
Repeat the same center-and-six-petals process for the next two flowers. Dry-fit each motif before attaching it. Match the same stone size and colors. Keep your hand away from previously placed stones and compare the spacing from directly above. If you move a motif to fit your case, keep that revised position for the remaining steps.
Three flowers total: 3 gold centers and 18 white petals.
Finish all seven and let the adhesive cure
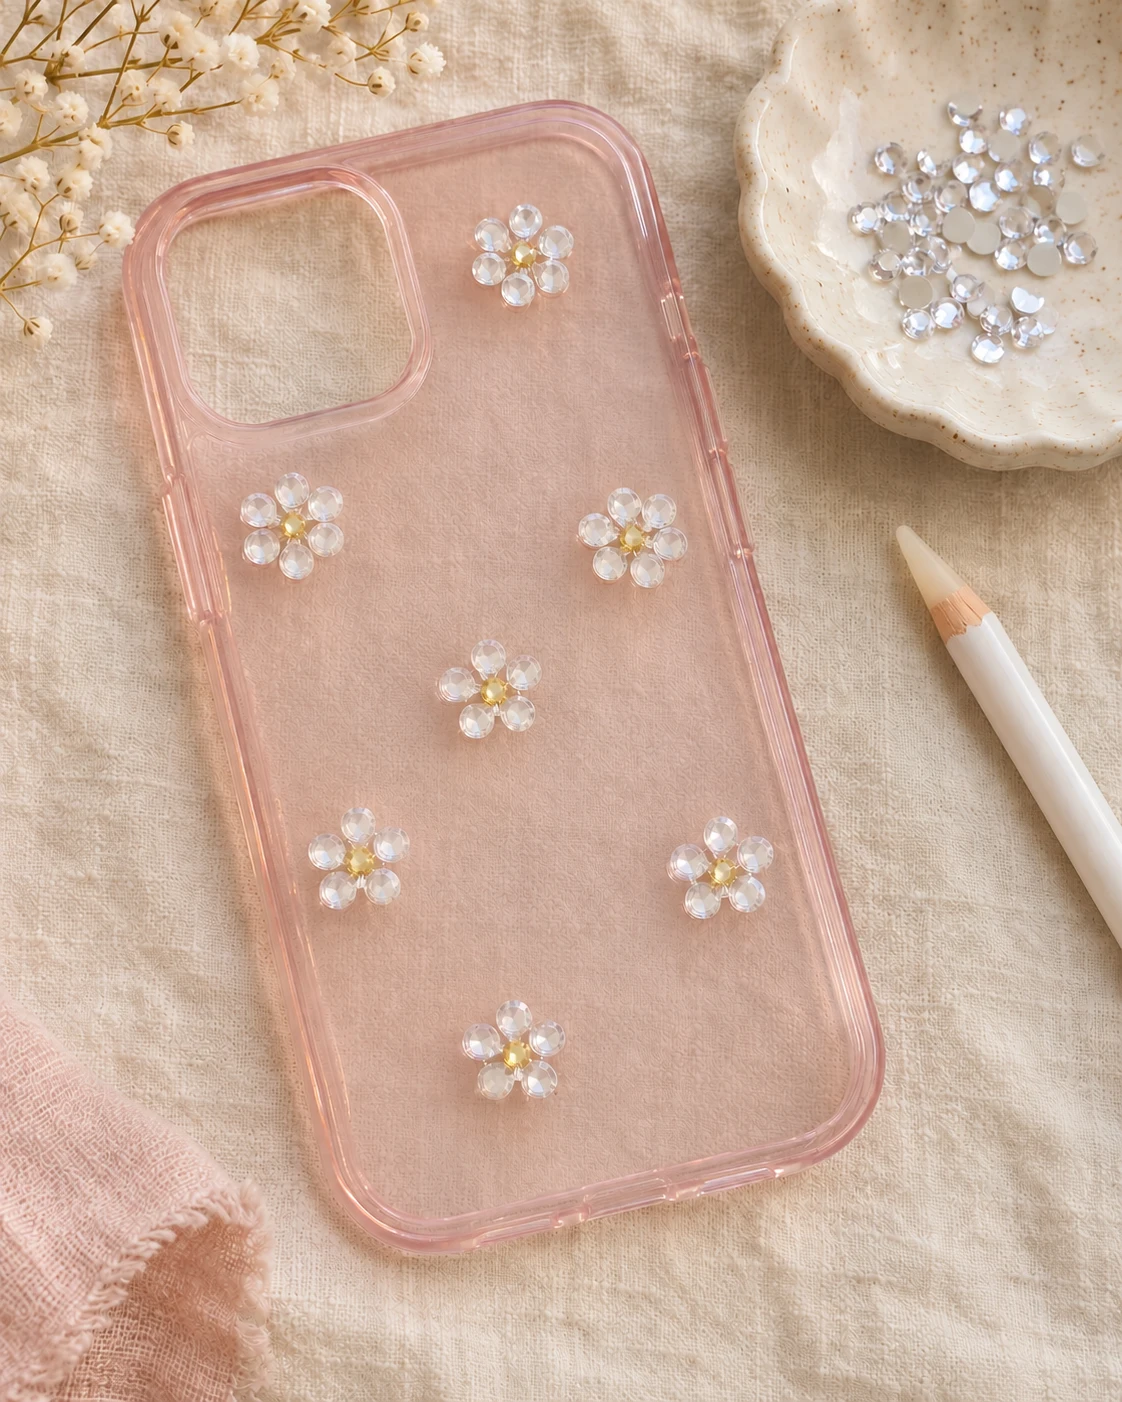
Add the four lower flowers one at a time. Your final count is 7 gold centers and 42 white petals: 49 stones. Leave the empty case flat for the adhesive label’s full cure time in the specified conditions. Do not handle it simply because the surface feels dry. Keep the phone out throughout curing.
Seven motifs, no extra stones between them, and no blocked openings.
Inspect before putting the phone back
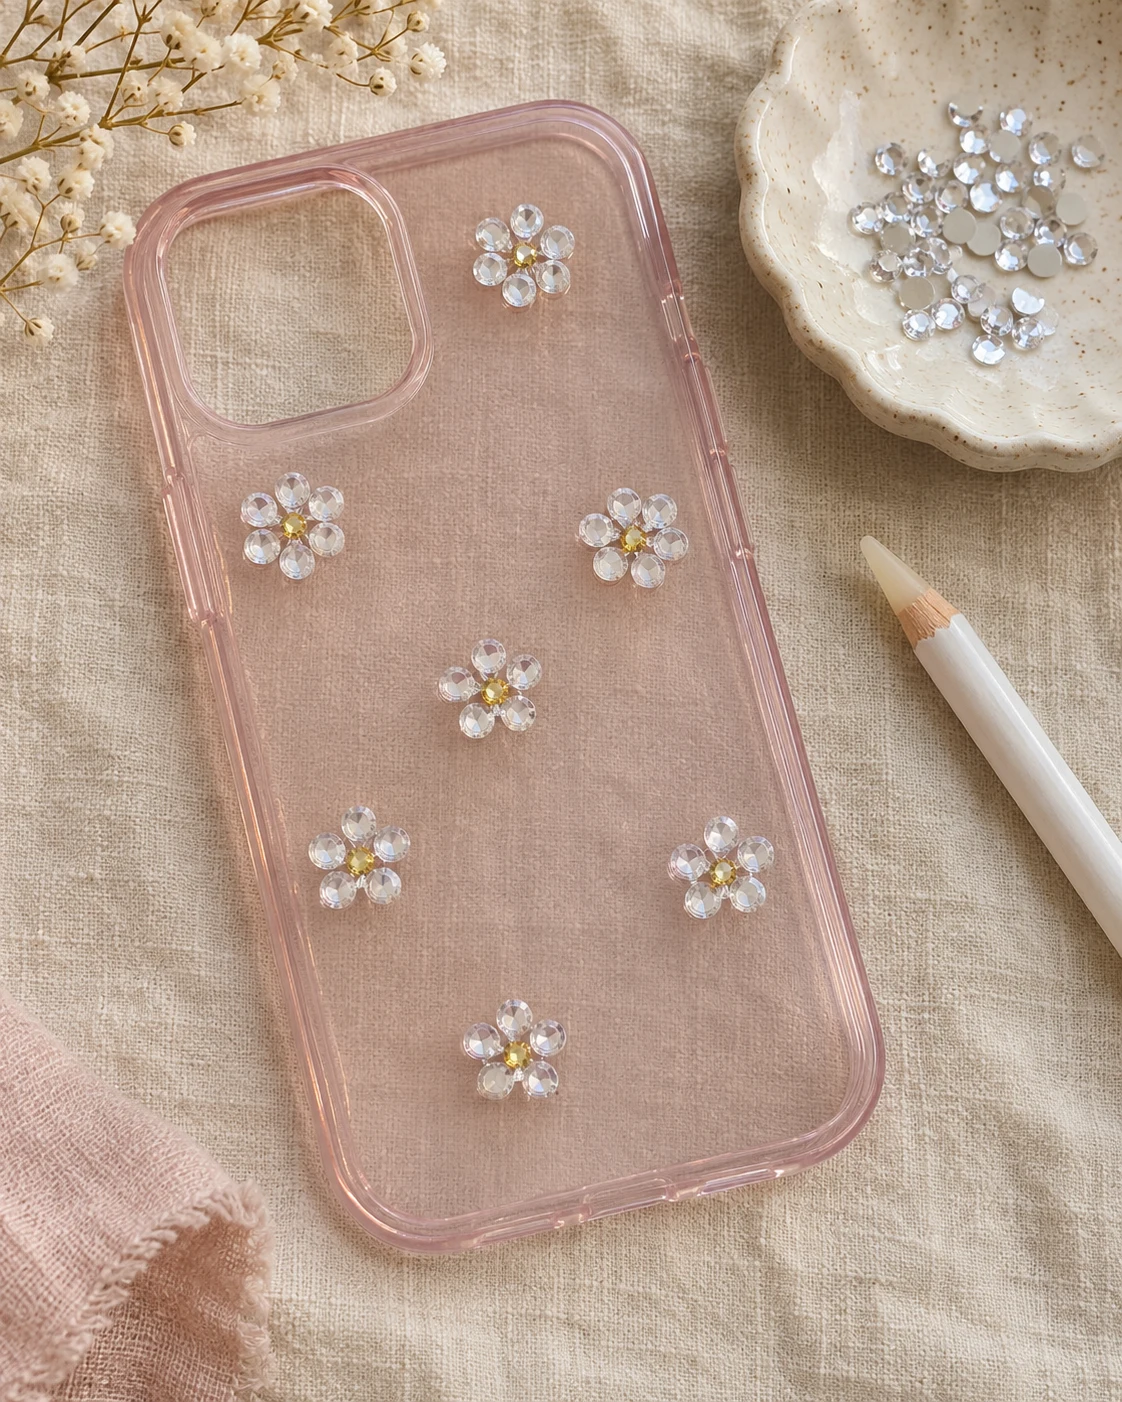
Only after the labeled cure period, check each stone for movement and look for adhesive near the camera, buttons, ports and edges. Remove or repair loose pieces on the empty case and wait through any repair cure time. Reinsert the phone only when the case is stable and unobstructed. Do not assume its charging, heat or drop performance is unchanged by decoration.
49 secure positions and clear openings; keep your spare stones for later repairs.
If a flower does not match the picture
Count the positions before changing the pattern: each flower has one center and six petals. A photograph-style rendering is not a scale drawing. Follow the 3 mm template for exact quantities and leave space around the camera on your own model. If the design needs to be smaller, use the three-flower version rather than shrinking the print and crowding the same stones.
Aftercare and repairs
Use the case and adhesive makers’ care guidance together. Avoid treating raised stones as a gripping surface. If a stone lifts, inspect its backing and the case finish before regluing; our repair guide explains what each failure surface can tell you.
Manufacturer instructions to check
Reviewed November 13, 2026. Product formulations and labels can differ; the instructions for your exact product take priority.